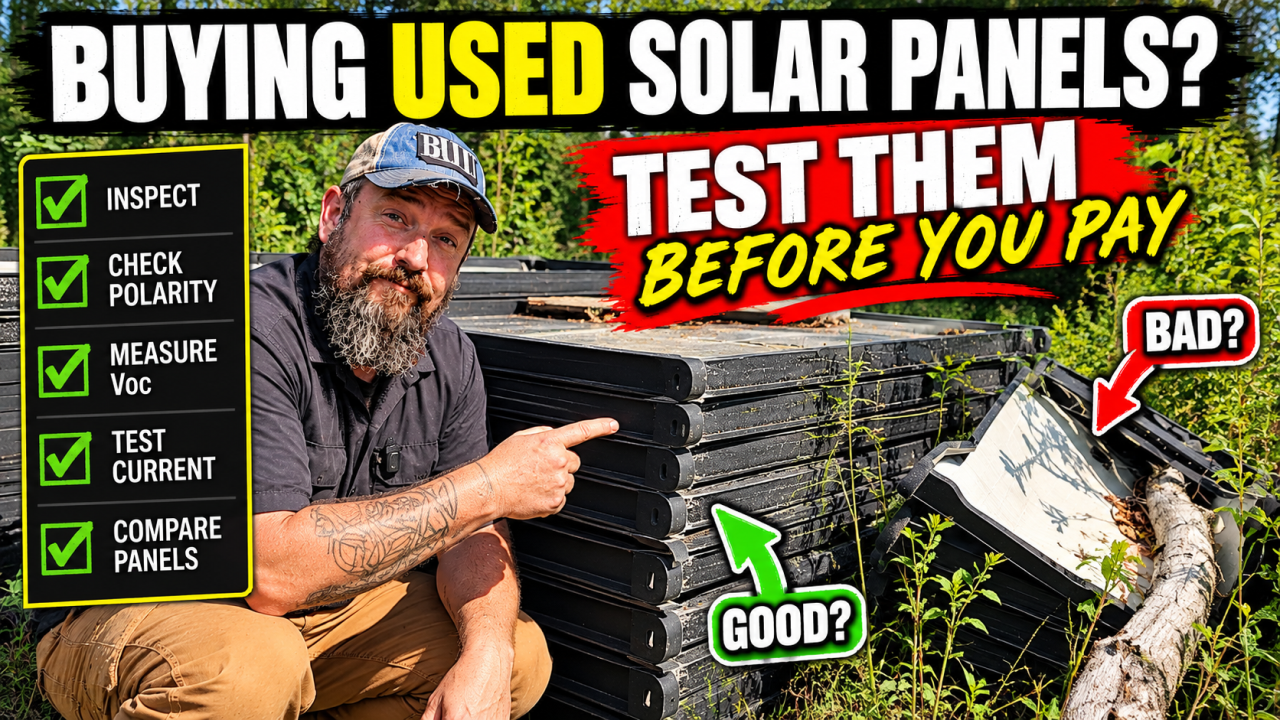
How to Test Used Solar Panels Before You Buy Them
A used solar panel can produce voltage and still be unable to deliver the current and power you expect. That means a quick voltage reading—or a clean appearance—doesn’t tell you the whole story.
Before I mount and wire my stack of used panels, I need to separate the usable panels from the damaged or badly underperforming ones. That starts with a physical inspection, followed by electrical testing with a multimeter and a dedicated solar-panel tester.
This guide explains how to check a panel’s condition, confirm its polarity, measure open-circuit voltage and evaluate its actual power output. The goal isn’t to reproduce a laboratory rating in the backyard. It’s to compare similar panels under similar conditions and find the panel that doesn’t behave like the others.
Previous lesson: Solar Panels in Series vs. Parallel: What You Need to Know
How to Test a Used Solar Panel: The Quick Answer
- Read the panel label and record Voc, Isc, Vmp, Imp and Pmax.
- Inspect the glass, individual cells, frame, backsheet, junction box, wiring and connectors.
- Position matching panels at the same angle and test them under similar sunlight and temperature conditions.
- Use a properly rated multimeter to confirm polarity.
- Measure the panel’s open-circuit voltage, or Voc.
- If you have properly rated equipment, measure Vmp, Imp and Pmax under load.
- Compare several matching panels and look for a significant outlier.
Don’t judge a used panel by voltage alone. A panel can show voltage and still be unable to deliver useful current or power.
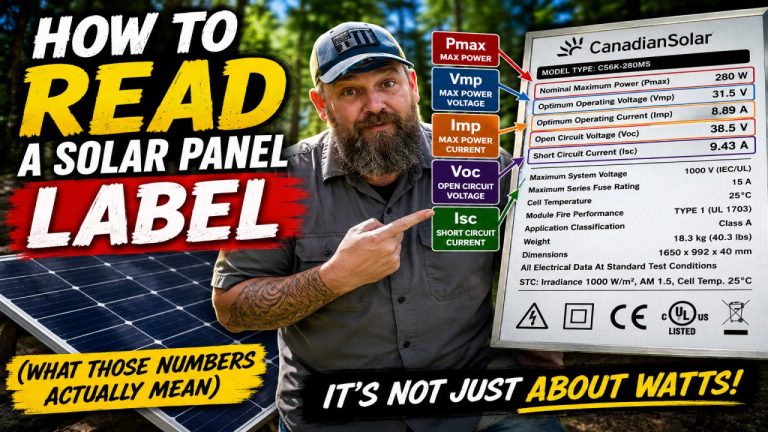
Start With the Solar Panel Label
Before connecting any test equipment, read the label on the back of the panel. These five specifications give you reference points for evaluating the test results:
- Voc — Open-circuit voltage: The panel’s voltage when no load is connected.
- Isc — Short-circuit current: The panel’s current under specified short-circuit test conditions.
- Vmp — Voltage at maximum power: The operating voltage when the panel is producing maximum power.
- Imp — Current at maximum power: The operating current when the panel is producing maximum power.
- Pmax — Maximum power: The panel’s rated wattage under Standard Test Conditions.
These specifications were measured under controlled laboratory conditions. Your outdoor test will be affected by sunlight, panel angle, temperature, haze, clouds, shading and dirt. You should not expect a backyard Pmax reading to exactly match the wattage printed on the label.
The label gives you a benchmark—not a guarantee of what the panel will produce during every outdoor test.
Inspect the Panel Before Testing It
An electrical test does not replace a careful physical inspection. If you’re buying used panels, complete this inspection before handing over any money.
Glass and Solar Cells
Check the entire glass surface and every visible cell for:
- Cracks or shattered glass
- Broken or discolored cells
- Burn marks or hot spots
- Moisture beneath the glass
- Delamination or other unusual changes
A panel can still produce voltage even when it has serious physical damage, so visible output does not automatically make it suitable for installation.
Frame and Backsheet
Inspect the frame or mounting structure for bends, cracks, damaged corners and loose components. Most panels use aluminum frames, although my SunPower panels have thick fiberglass frames and mounting legs from their original rooftop installation.
Turn the panel over and inspect the backsheet for:
- Cuts or punctures
- Bubbling or separation
- Discoloration
- Burn marks
- Moisture damage
- Areas that look crushed or distorted
Clean heavy dirt from the panel if it prevents a proper inspection.
Junction Box, Wiring and Connectors
Make sure the junction box is securely attached and shows no obvious evidence of water intrusion, overheating or physical damage.
Inspect the cables and connectors for:
- Damaged or cracked insulation
- Loose wiring
- Broken connector housings
- Missing or damaged seals
- Corrosion
- Poorly installed replacement connectors
If anything looks unsafe, damaged or unfamiliar, stop before connecting test equipment.
The Sun Is Part of the Test Equipment
Solar-panel test results are only useful when you understand the conditions under which they were measured.
If one panel is tested at noon under clear skies and another is tested later beneath haze or clouds, comparing their output tells you very little about their relative condition. Current and power depend heavily on the amount of sunlight reaching the panel.
Try to keep these conditions consistent:
- Sunlight intensity
- Panel angle and orientation
- Panel temperature
- Cloud cover and haze
- Shading
- Dirt and debris
- Time between tests
Even a small shadow from your body, phone or test equipment can reduce output. Temperature also affects voltage: colder panels generally produce higher voltage, while hotter panels generally produce lower voltage.
When comparing matching panels, position them the same way and test them one after another as quickly as practical. You are trying to create a fair comparison, even though you are not working under laboratory conditions.
Solar Panel Testing Safety
A solar panel can produce electricity whenever it is exposed to light. Treat its output wiring as live even when the panel is not connected to a battery, controller or inverter.
Before testing:
- Read the instructions for the meter or solar-panel tester.
- Confirm that the equipment and test leads are rated above the panel’s expected voltage, current and power.
- Inspect the meter, leads and connectors for damage.
- When measuring voltage, confirm that the meter leads are plugged into the voltage inputs—not a current-testing input.
- Select DC voltage rather than AC voltage.
- Keep hands away from exposed conductors.
- Do not connect or disconnect permanent MC4 connections while they are carrying current.
- Do not deliberately short the panel or attempt a current test unless your equipment and procedure are specifically designed and properly rated for it.
The demonstration in this guide uses one individual panel. An installed series string or complete array can operate at substantially higher and potentially lethal DC voltage.
Do not use this single-panel procedure on an unknown or energized array. Safely isolating and troubleshooting an installed array is a separate process.
Test 1: Confirm Polarity and Measure Voc
What You Need
- A multimeter capable of measuring DC voltage
- Test leads rated for the panel’s expected voltage
- Standard probes or MC4 multimeter test leads
- The specifications from the panel label
I used a Klein CL700 with dedicated MC4 test leads. You do not need that specific meter, but your meter and leads must be properly rated and configured.
Confirm the Panel’s Polarity
Set the multimeter to DC voltage and connect the red test lead to one panel cable and the black test lead to the other.
- A positive reading means the red lead is connected to positive and the black lead is connected to negative.
- A negative reading means the leads are reversed.
For example, a reading of 56.3V indicates the assumed polarity is correct. A reading of -56.3V indicates reversed polarity.
A negative sign does not mean you damaged the meter or panel, provided the meter is correctly configured and rated. It identifies which lead is positive and which is negative.
Do not assume that a male or female MC4 connector automatically proves polarity. Connectors may have been replaced, repaired or incorrectly installed by a previous owner.
Measure Open-Circuit Voltage
While connected in DC-voltage mode, the meter is also measuring Voc, or open-circuit voltage. Open circuit means the panel is exposed to light but is not powering a load.
The SunPower panel tested in the video has a label Voc of 64.9 volts. The multimeter measured approximately 56.6 volts under the conditions present during the test.
The numbers were not identical because the outdoor conditions were not Standard Test Conditions. However, the reading was reasonably consistent with an operating panel and gave us a useful baseline for comparison.
Why Voltage Alone Isn’t Enough
A panel can show a believable open-circuit voltage while still having damage that prevents it from supplying the expected current and power.
Voc confirms polarity and tells you whether the panel is producing voltage. It does not prove that the panel can deliver useful power under load.
Test 2: Measure Current and Power With a Solar-Panel Tester
My Klein CL700 has a current clamp, but that clamp measures AC current only. Solar panels produce DC power, so I cannot simply clamp it around a panel cable and obtain a valid DC-current reading.
Some multimeters and clamp meters can measure DC current, but never assume yours can. Confirm its functions, ratings and required connections before testing.
For this test, I used an ELEJOY EY-1800W solar-panel tester. A dedicated photovoltaic tester can place the panel under load and report several useful measurements at once:
- Voc: Open-circuit voltage
- Vmp: Voltage at maximum power
- Imp: Current at maximum power
- Pmax: Maximum power produced under the current conditions
Before connecting a tester, read its instructions and verify that it is rated for the panel’s voltage, current and power. Solar panels can produce electricity whenever they are exposed to light, so treat the wiring as live.
Baseline Results From the Apparently Good Panel
The apparently undamaged SunPower panel produced:
- Voc: 56.6V
- Imp: 3.32A
- Vmp: 36.25V
- Pmax: 120.3W
The label rates the panel at 327 watts, but a field reading of 120.3 watts does not automatically mean the panel has permanently lost 206.7 watts of capacity.
The label rating was established under Standard Test Conditions. The field test was performed outdoors in Tennessee under the sunlight, temperature and panel angle available at that moment.
This reading becomes most useful as a baseline. If several matching panels tested immediately afterward produce similar numbers, their performance is reasonably consistent under those conditions.
Good Panel vs. Damaged Panel Test Results
I then tested a panel that had been visibly damaged when a tree limb fell onto the stack during an ice storm. Its glass was shattered, its frame was broken and the back of the panel was damaged. I used the same equipment, the same tester and conditions that were as similar as practical.
| Measurement | Baseline panel | Damaged panel |
|---|---|---|
| Physical condition | No obvious damage | Shattered glass and broken frame |
| Voc | 56.6V | 48.1V |
| Vmp | 36.25V | 27.66V |
| Imp | 3.32A | 1.79A |
| Pmax | 120.3W | 49.4W |
The damaged panel still produced approximately 48 volts of open-circuit voltage. If I had only checked Voc, I might have concluded that it was still reasonably functional.
Under load, however, it produced only 49.4 watts compared with the baseline panel’s 120.3 watts under similar conditions. Its voltage reading alone concealed how severely its useful output had been reduced.
This visibly shattered panel will not be installed in the array. The comparison simply demonstrates why voltage is only one part of a useful panel test.
How to Evaluate a Stack of Used Solar Panels
A single outdoor test cannot reliably tell you an exact percentage of panel degradation. There are too many uncontrolled variables, including sunlight intensity, panel temperature, angle, dirt and passing haze.
I would not use a universal rule such as “a used panel is good if it produces at least 80% of its rated Pmax” based on one backyard test. Without measuring irradiance and cell temperature under controlled conditions, that percentage can be misleading.
A more useful approach is to compare matching panels against one another:
- Confirm that the panels are the same model with matching label specifications.
- Clean them enough for a fair inspection and test.
- Position each panel at the same angle and orientation.
- Test them one after another under stable sunlight.
- Record Voc, Vmp, Imp and Pmax for every panel.
- Compare the results and identify any significant outliers.
- Retest questionable panels to confirm that changing sunlight did not cause the difference.
If nine matching panels produce similar results and the tenth is dramatically lower, that tenth panel deserves further inspection or exclusion from the primary array.
When buying a pallet or stack, test more than one panel before paying. Testing one convenient panel only tells you about that one panel—not the rest of the stack.
Using Panel Tests to Troubleshoot an Existing Array
The same comparison method can help when an installed array produces less power than expected or suddenly drops in performance.
An underperforming array does not automatically mean a panel has failed. Possible causes include:
- New or seasonal shading
- Dirt, leaves or other debris
- Damaged wiring
- Loose or overheated connectors
- Blown fuses or tripped protection
- Charge-controller or inverter problems
- Configuration or commissioning errors
- One or more underperforming panels
After other likely causes are investigated, safely isolated matching panels can be compared under similar test conditions. A panel that performs dramatically below the others gives you something specific to investigate.
However, an installed array—especially panels connected in series—can operate at much higher DC voltage than the individual panel demonstrated here.
Do not disconnect, isolate or test an energized array unless you understand the system, have appropriately rated equipment and can follow a safe shutdown procedure. Installed-array troubleshooting will be covered separately later in this series.
Tools and Equipment Used
Disclosure: The following are affiliate links. If you purchase something through one of these links, I may earn a commission at no additional cost to you.
- ELEJOY EY-1800W Solar Panel Tester — The tester used in the video to measure Voc, Vmp, Imp and estimated maximum power directly from a solar panel.
- Klein Tools CL710 Clamp Meter — The newer replacement for the discontinued Klein CL700 shown in the video. It can measure AC/DC voltage and AC/DC current, along with resistance, continuity and other useful electrical measurements.
- MC4 Multimeter Test Leads — These make it easier to connect a properly rated multimeter to a panel’s MC4 connectors for polarity and open-circuit-voltage testing.
You do not need these exact tools, but anything you use must be properly rated for the panel’s voltage and current. Follow the tool manufacturer’s instructions and never exceed its input limits.
For repeated testing, I removed the locking tabs from a dedicated set of MC4 test leads so they could be connected and disconnected more easily. Do not remove the locking tabs from connectors used in a permanent solar installation. Those tabs help keep the connection secure.
Used Solar Panel Testing FAQ
Can a solar panel show voltage and still be bad?
Yes. The damaged panel in this test still produced 48.1 volts, but its measured power was only 49.4 watts compared with 120.3 watts from the baseline panel. A voltage reading alone does not show how the panel performs under load.
Can I test a solar panel with only a multimeter?
A properly rated multimeter can confirm polarity and measure open-circuit voltage. That provides useful information, but it does not show the panel’s actual power output. Measuring operating current, voltage and power requires appropriate equipment capable of placing the panel under load.
What percentage of its rated output should a used panel produce?
There is no reliable universal percentage for an outdoor test. Panel temperature, sunlight, angle, haze, dirt and other conditions can substantially affect the reading. The most useful approach is to compare matching panels under the same conditions and look for one that performs noticeably worse than the others.
Should I test matching panels together or individually?
Test them individually and as close together in time as possible. Keep their angle and exposure to sunlight consistent. This makes it easier to identify an outlier without changing several variables at once.
Is a cracked solar panel safe to use?
A panel can still produce voltage even when its glass, cells or frame are badly damaged. That does not mean it is safe or suitable for a permanent array. Significant damage can allow moisture intrusion and create mechanical or electrical problems. I will not be installing the shattered panel from this test in my array.
Used Solar Panel Testing Checklist
- Read the panel label and record Voc, Isc, Vmp, Imp and Pmax.
- Inspect the glass, cells, frame, backsheet, junction box, wiring and connectors.
- Position matching panels at the same angle in consistent, unobstructed sunlight.
- Confirm that your meter or tester is rated for the panel’s voltage and current.
- Check the panel’s polarity instead of assuming the MC4 connectors are correct.
- Measure and record the open-circuit voltage.
- When appropriate equipment is available, measure operating voltage, current and power.
- Test matching panels individually and as close together in time as possible.
- Compare the results and look for the panel that behaves differently from the others.
- Investigate serious physical damage or unusually low readings before buying or installing the panel.
What Comes Next
Testing gives you real information about the panels you already own or are considering buying. The next step is not automatically asking how many panels you need. Every real solar build begins with limitations—including available space, existing equipment, budget, battery location, wire distance and the loads you need to power.
In the next lesson, we’ll use those real-world limitations to establish a practical starting point before calculating loads and sizing the system.
Next lesson: Start With Your Solar System’s Limitations
Until then, you can find the complete series and follow the systems I’m building on the DIY Solar Power Hub.